Unlike paint, tiling isn’t really as quick as well as very easy as it looks. Tiling is for those that appreciate laborious, repetitive perfectionism. And I can’t state that I do, yet in the long run, the three days that transformed into three weeks (seriously) was all worth it. Tidy white train ceramic tile changes spaces– all in such a classic way. So, before you start mixing the thin-set, look into the lessons I found out about how to ceramic tile your bathroom.
What You Need
Materials
- Subway tile
- Thin-set mortar adhesive (I made use of grey, so it’s not as recognizable if it shows between the grout lines).
- Sandpaper (optional).
Tools.
- Damp Saw (you can rent out one).
- Shatterproof glass.
- Notch trowel (check thinset instructions for instructions on what size notch).
- Bucket of water.
- Sponge.
- Rags.
- Flathead screwdriver (to tear up ceramic tile throughout mistakes).
- Degree.
- Painter’s tape.
- Rubber mallet.
- 1/8″ Spacers.
- Con artist (to mark cuts).
- Gauging tape.
Instructions.
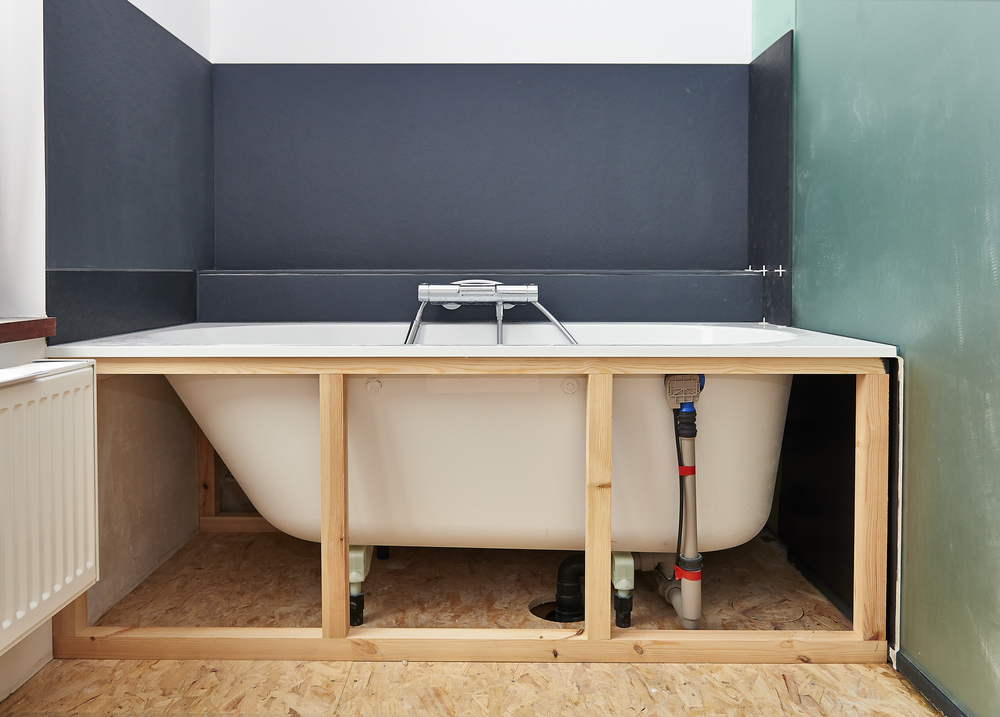
Prior to you get started, ensure your wall surfaces are ready for the ceramic tile. As an example, if for any type of reason your wall surfaces are bumpy and uneven (like mine), start by leveling them with spots of thin-set. Or, make certain to scrape off any loose wallpaper or paint, or lightly sand glossy completed wall surfaces. Last but not least, remove any type of switch/outlet plates.
Tip: Your walls need to be tidy and completely dry before you begin tiling.
1. Plan your wall surface out. The major purpose is to prevent any type of tiny items as well as unpleasant slivers of floor tile along the side of the wall and the floor. In my layout, I’m only tiling half my wall– 42″ from the flooring, so my center would be 21″.
2. Without any mortar, dry-lay a horizontal row (eco-friendly) and vertical column (blue) to determine the layout. Area the ceramic tiles before the wall surface you are planning to tile. Usage spacers in your test lay, so you recognize precisely where your floor tiles will end. Reposition rows up until you discover the very best design.
Suggestion: You wish to wind up cutting tile to half its dimension or larger. Plan your wall to stay clear of reducing ceramic tile less compared to 2″ wide.
3. Mark your design on the wall surface. The wall surface’s side or the flooring could be crooked, so never ever utilize it as a guide. Use a level rather.
4. Mix your thinset according to the directions.
Pointer: You want your thinset to have a smooth peanut butter-like consistency. As well damp and your tiles will certainly sag, however as well completely dry and also they won’t stick correctly. I begin with a little of water and also include the completely dry thinset powder to it. This additionally assists avoid lumpy blends.
6. Currently with the notched side of the trowel, apply light pressure at 45 degrees to develop lengthy grooves. These grooves will certainly aid eliminate any excess thinset. It also aids suction the tile versus the wall surface and keeps it in place.
Suggestion: The thinset label will tell you what notch dimension to utilize, depending on the dimension of the tile. I used this v-notch trowel for my 3×6 subway floor tile, and a 1″ notch for my 12×24 flooring tiles.
7. The first tile mounted need to be where blue satisfies environment-friendly in the representation above. Establish the tile at a minor tilt, and also twist with firm pressure into location. For the initial row, use painter’s tape making sure tiles stay in location.
Idea: Once you set the floor tile, double-check again making sure it’s level.
8. Put spacers on each corner of each ceramic tile to get even grout lines.
Idea: Some floor tiles have little nubs or an uneven shape that could influence the spacing. Make certain to stand back and have a look at your job to examine if floor tiles are also. If some are protruding out more than others, make use of a rubber club to gently touch the ceramic tile right into area.
9. Continue this process throughout the wall surface.
10. Procedure, mark, as well as reduced ceramic tiles to fit along sides, as well as around electrical outlets, corners, as well as home windows. Remember: determine two times, cut as soon as.
11. As soon as you have your tile cut to dimension, use thin-set straight to floor tile for those corners as well as small, hard-to-reach rooms.
12. Before the thinset dries out, clean the excess thinset between the grout lines with a screwdriver or spacer. It’s a whole lot much easier cleansing while it’s wet compared to cracking at it with a razor later on.
13. Utilizing a wet sponge, carefully wipe any kind of thin-set off the face of the floor tile.
14. To round off the top row of ceramic tiles, I used a basic bull nose trim to round off the wall surface.
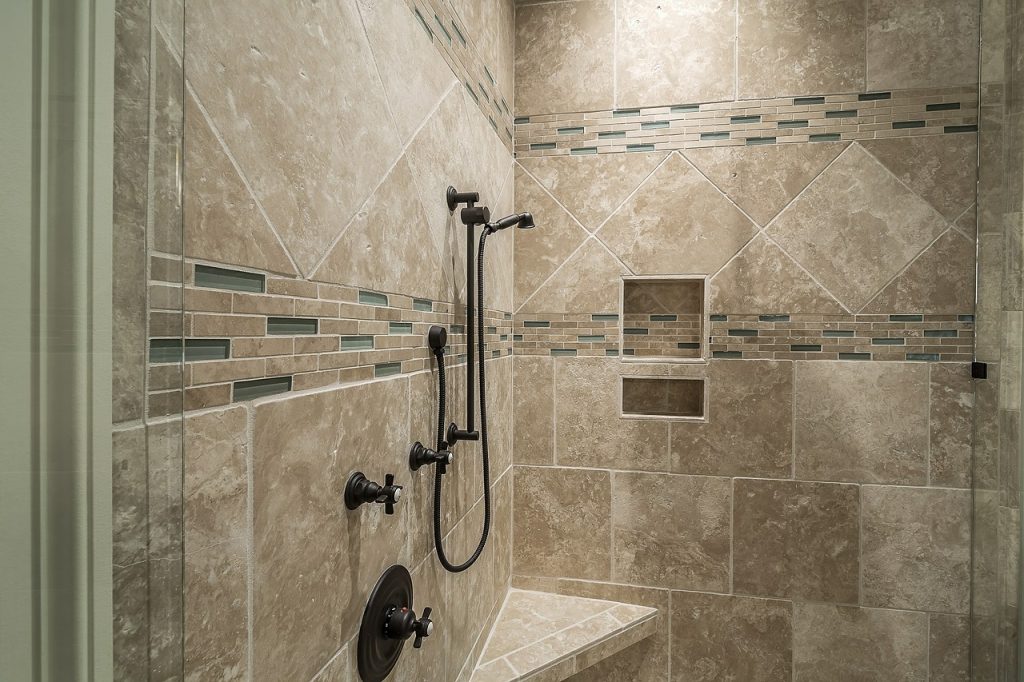
15. When you get to elaborate spaces (such as this shower rack), cut 45 level edges into the floor tile. For wall surface to wall surface edges, leave sufficient room so caulk joints coincide size as grout joints.
16. If you have an outside corner, there are numerous means to finish them off, relying on your tile design. Bull nose, dual bull nose, quarter rounds … I located this great white metal edge ending up at a neighborhood ceramic tile shop. (I truly wanted to stay clear of turning the bull nose upright as well as having a structure on this edge.) The steel coating was ideal for a straight-edge coating, as well as serves as a corner guard also.
A lot more Tips.
Try to align your corners. Purchase a laser degree. I drew lines that I thought may assist, yet they just got covered by thin-set. Laser degrees can even flex around edges.
As soon as thinset ends up being as well thick as well as dry, throw it away and also make a new batch. Aiming to prolong the life of thinset by including water will certainly make it much less sticky.
Do not just position floor tile onto thin-set. Press firmly, twist, and also shake it so it’s actually on there.
Look for tipped edges. Pressing on one corner could raise another. It might not be visible currently, but once you include cement, corners could look greater or below surrounding ceramic tiles.
Make use of a screwdriver to pry up tiles that remain in the wrong place. Once the tile is suctioned onto the thin-set, it’s really on there. The screwdriver would certainly have conserved me from a few days of aching fingernails.
Open up a couple of boxes of tile and mix them up. One box can vary slightly in shade from another.
Make sure you prepare appropriately. Get ending up trim pieces by the very same manufacturer, so you don’t need to try to match whites later.
Has anyone ever provided tiling a try? Please share any tips you have with us! Additionally, be sure to check out the following step in my bathroom remodeling– every little thing you have to understand about grout.