Have you ever wanted to enjoy the fresh breeze the outdoor brings, but the sun is too glaringly hot? Want to read a good book while sipping ice-cold juice under the natural light without burning your skin? Then I suggest you get a shade sail now! Having patio shade sails is the best solution to enjoy summer blowouts outside.
Since staying under the sun for a prolonged period might be harmful to some people, shade sails are designed to have UV protection to keep you from having skin illnesses like sunburn or skin cancer. As you grill on your Lynx barbecue as you hang out with friends and family, shade sails will give you the convenience that you need for a happy and comfortable experience with loved ones.
More Affordable
Shade sails are remarkably more affordable than having permanent structures built that require construction and materials like cement and beams. If you want to relax outside without the hassle of building, then patio shade sails are an excellent choice. Not only are they less costly, but they can also be easily removed if you want to enjoy the sight of gleaming stars at night.
Quick Installation
As mentioned above, they don’t require expensive materials to install. They can easily be installed anywhere as well. They are durable, flexible, and come in various sizes to fit your patio space. All you have to do is make sure you have strong anchor points that can withstand different elements. Without the security of fixed anchor points, your shade sail might risk getting blown by the wind. However, if you’re having difficulty installing one yourself, don’t hesitate to call shade sail installers to help you out.
UV Radiation Resistance
Not only do they give a decent shade and enhance your feeling of relaxation, but patio shade sails also provide UV radiation resistance. With that, you can quickly ease yourself with that good book and refreshing drink on your patio without having to worry about the sun damaging your skin.
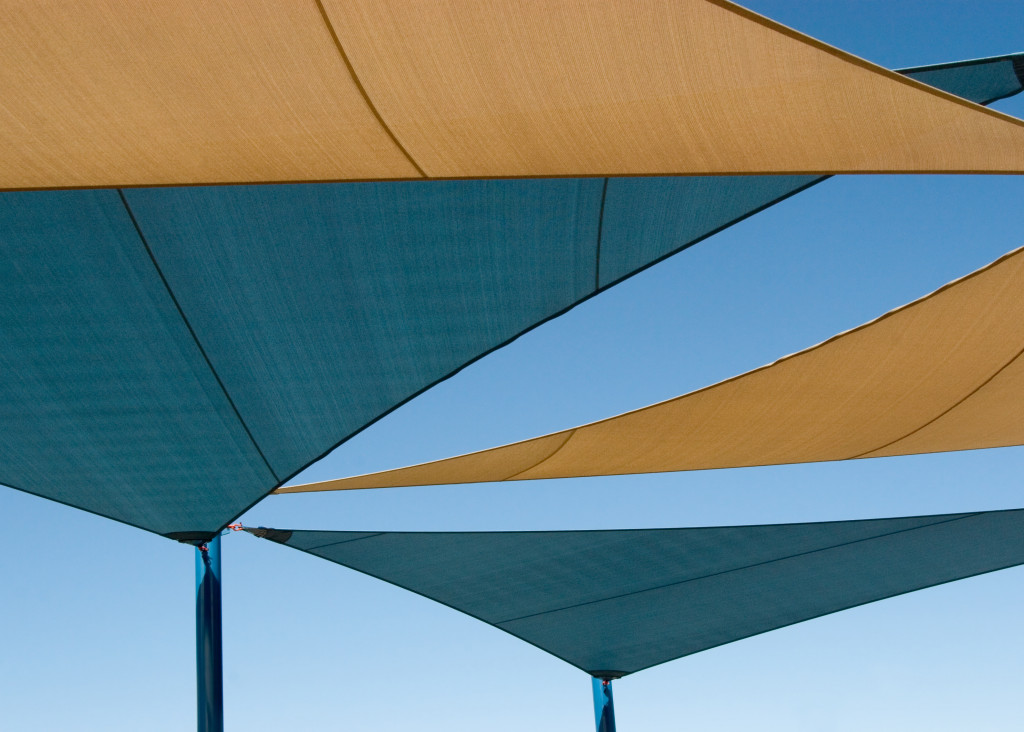
Aesthetic Exterior

They keep you fresh, provide shade, protect you from UV rays, and look aesthetically pleasing as well. Since shade sails are available in various colors, sizes, and designs, you can easily choose one that suits your patio or creates a style for your needs. If you can’t find the model you like for your home exterior in stores, no problem! Some companies offer custom building shade sails to get you the style and qualifications you are content with.
Installing a Shade Sail
Before Starting
After finding the perfect spot for your shade sail, choosing the right fixing points for the corners is essential. These fixing points can sometimes be predetermined, such as a sundeck, giant tree, fascia, or fence post. Making sure that your fixing points are sound and stable is very critical to avoid unwanted accidents. If not, it’s better to call an engineer for advice. These are the tools and equipment you might need to secure your shade sail:
- Tape measure
- Eyebolts or eye lag bolts
- Drill
- Support posts
- Polyester Rope
- Quick-setting concrete
Attaching Existing Supports
-
Attaching to Fascia
If you plan on attaching the shade sail to a fascia, it is highly recommended to use fascia support. It connects the rafter overhangs to a fascia’s ledgers to provide stronger support.
-
Attaching to trees
It is more advisable that the tree attachment of shade sails is temporary because of how unstable trees can be. The tree diameter should at least be 9.75 inches.
Footings
To have strong footholds, dig holes that are 32 inches deep and make sure they are measured at the center of footing positions.
-
Firm Ground
At the base of the attachment, apply gravel at a depth of ¾ inches.
-
Soft Ground
Pouring concrete at a depth of 4 inches at the bottom of the hole for a more solid base. Make sure the inserted posts are in a straightened position. You can brace the posts temporarily for extra support.
-
Concreting
Make sure to cautiously follow the supplier’s instructions on how to mix the concrete properly. These instructions can be found labeled on the packet you bought. Pour the properly mixed concrete above the holes. Don’t forget to slope it away to avoid water stagnation. Let the concrete set for 48 hours and apply bracing if necessary.
After fixing all the necessary mounting points, ensure they are firmly secured and facing the sail’s mid-line. Double-check the mounting point to make sure they are reliable enough. Finally, open your shade sail and finish the installation to start that much-needed outdoor relaxation.
Shade sails are so cost-effective and are perfect for public gatherings where radiation and heat are experienced daily. Despite it being easy to set up, ensuring that it has a secure and firm installation is essential for a more durable patio shade sail. Also, make sure to check and do maintenance regularly to extend its life.