Hanging photographs, art prints, and other pictures is a great way to spruce up your home and give it a bit of a designer touch, but only some people are so good at hanging pictures to a high standard.
This article outlines simple tips to help you hang your photos like a pro.
-
Table of Contents
Tailor your technique to the type of wall
First of all, you are going to want to ensure that the technique you use for hanging your pictures is a good match for the type of wall you are hanging them on. You will need to ensure that the nails, drill bits, and anchors you buy from Fastenere.com will work and not damage your walls or see your pictures fall off, which is why asking the DIY store person for help is always a good idea if you aren’t sure.
-
Arrange your images right
The organization of your artwork can greatly influence the aesthetic appeal of the presentation. You have the choice between a symmetrical or asymmetrical layout, but it’s crucial to ensure that the frames are positioned at equal intervals to prevent a disorganized appearance. Utilizing a measuring tape when mounting multiple images simultaneously is highly recommended.
-
Weight is an important factor
A weighty frame may cause some damage to your walls and result in shattered glass on the ground below if you do not handle it with care.However, standard picture hangers are adequate for less substantial frames, and pieces heavier than a small novel should be mounted using a secure anchor that won’t easily dislodge from the wall.
-
Eye level is optimum
One mistake that a lot of people make when they are DIY hanging their picture frames is to hold them too high or too low to be truly enjoyed.For the most part, hanging your pictures at eye level is the best way to display them because you can truly enjoy them, and they won’t make the room look off-balance. Eye-level varies slightly depending on height, but a close approximation of average should be fine.
-
Picture size and wall size should match up
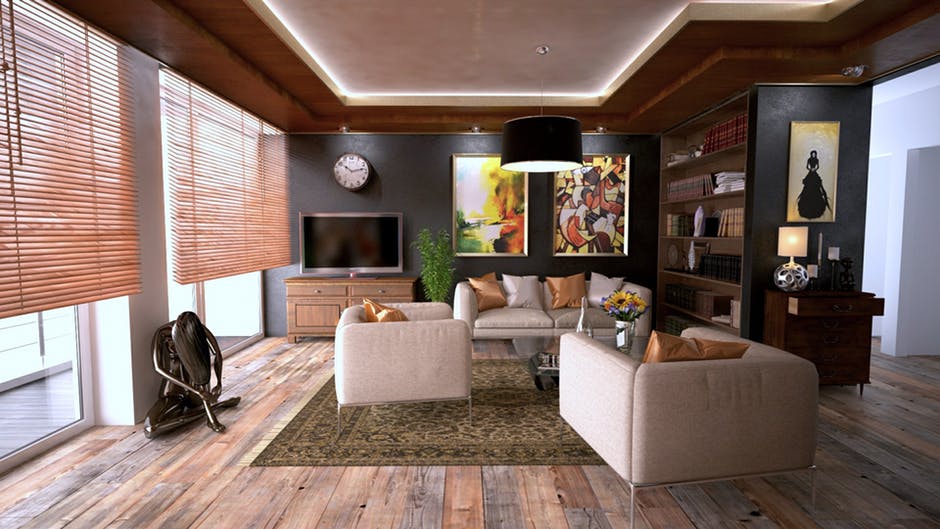
A fundamental principle in displaying artwork is ensuring that the size and proportion of your piece or collection correspond with the wall’s dimensions.or example, placing a tiny image alone on an extensive wall area is not advisable. Instead, consider creating a compilation of various pictures to occupy more of the open space. Incorporate a blend of hues and dimensions to make the assemblage truly stand out.
-
Lighting Matters
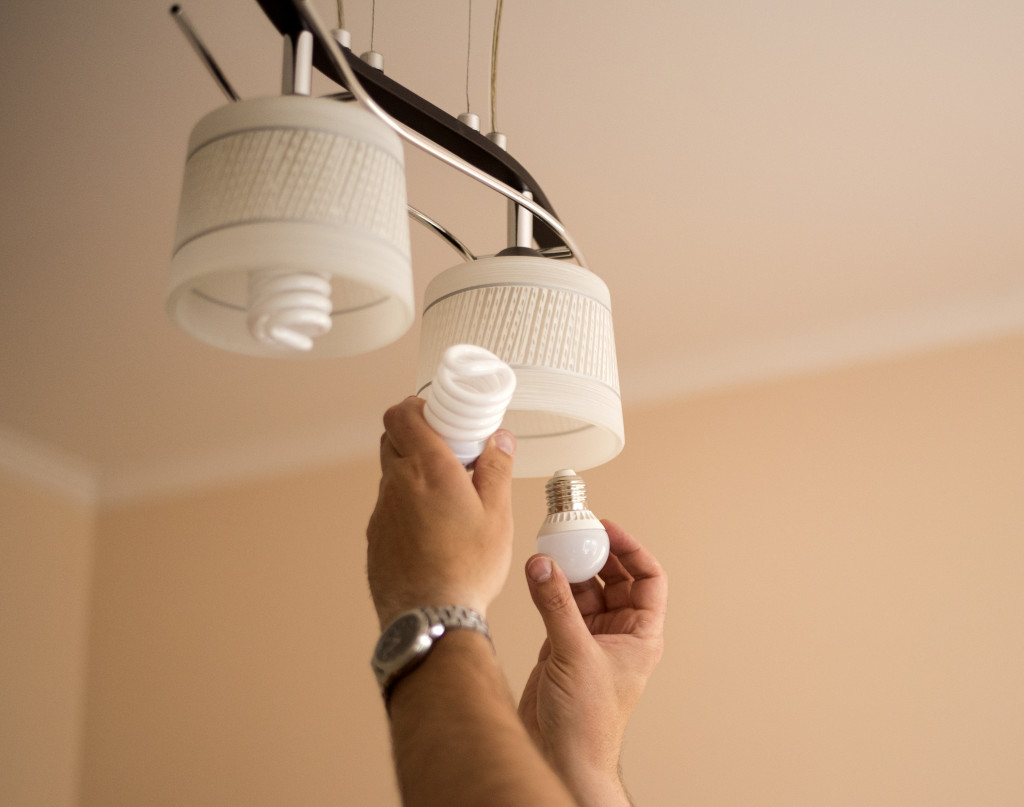
Lighting can significantly impact the overall ambiance and functionality of your living space. From setting the mood to providing adequate illumination, the right lighting choices can elevate the aesthetics and improve the functionality of any room.
One crucial factor to consider when choosing lighting fixtures is the type of light they emit. Warm white lights create a cozy and inviting atmosphere, while cool white lights are ideal for areas that require brighter illumination, such as kitchens and workspaces.
The placement of your light fixtures is equally essential. Task lightings, such as table lamps and under-cabinet lighting, can enhance visibility for specific activities like reading or cooking. Ambient lightings, such as wall sconces and pendant lights, can provide an overall glow that complements the room’s mood.
-
Consider The Space Around the Frames
When hanging pictures, it’s essential to consider the space around them. The area around your artwork can enhance its impact or detract from it. You want your picture to look clear on a vast wall, and you want it to appear cramped in a tiny area. Think about the size of the wall and the amount of empty space around the image. If the picture is too small for the wall, consider adding a mat or a larger frame to give it more presence. If you have several pictures to hang, think about how they relate to each other and the space they occupy. Grouping pictures together can create a cohesive look, but make sure they have enough space to breathe.
-
Tape is essential
Last but not least, be sure to tape the area of your wall you plan to drill or hammer a nail in first. This will help to prevent the plaster from crumbling. Using tape to mark the exact spot for hanging your pictures can also help you avoid making unnecessary holes in your wall. It can be helpful to use painter’s tape or masking tape to create a template of your picture frames on the wall before drilling any holes. This allows you to step back and better understand how the arrangement will look before making any permanent changes. Plus, the tape can help you ensure that each frame is level and evenly spaced, resulting in a polished and professional-looking display. Taking a few extra minutes to use tape can save you time and frustration in the long run.
As you can see, hanging pictures in your home does not have to be difficult, and you can get a good result, whether creating your own gallery wall or simply hanging a single canvas above the fireplace, using the quick tips outlined above.