A home renovation is a big decision. One of the most common questions homeowners ask before expanding a property is: “Which walls should I keep, and which walls can I take down?”
We’ll provide you with some tips on how to tell if a wall in your home is load bearing, and more importantly, what type of wall it needs to be.
What’s a Load-Bearing Wall?
The first step to knowing which walls in your home are load bearing is understanding what a load-bearing wall does. The purpose of a load-bearing wall is to take the weight of upper floors and redistribute it evenly along the length of the wall.
But not all load bearing walls support upper floors; some are designed to support the roof. This means that even a single-story house could have this type of wall. In some single-story homes, the wall could be supporting the basement or a crawlspace.
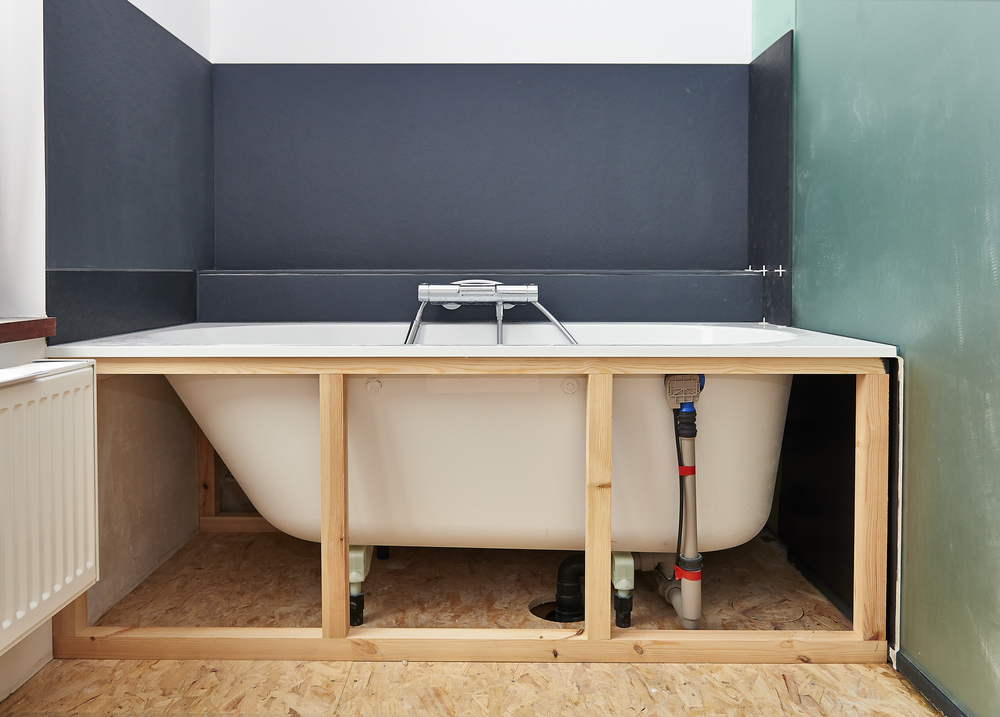
Load-bearing walls can be made out of brick, concrete block, or wood framing with post and beam construction. Without this type of support system, heavy items like furniture would cause uneven pressure on one side of the flooring or ceiling causing structural damage over time.
When you’re ready to renovate and want an open floor plan, these walls will need special attention as they become more important for supporting your new design.
How to Tell if a Wall is Load Bearing

If you remove a load bearing wall, it can cause the entire house to collapse. It’s important to know which walls are load bearing to avoid any accidents or dangerous situations.
There are a few ways that you can tell if a wall is load bearing:
- Look for vertical beams running through the middle of the wall. This will be one of the best indicators that the wall is load bearing.
- Another way to tell is by looking at the ceiling above the wall. If there’s a beam running across, then it’s likely that the wall is load-bearing.
- You can also try to push on the wall. If it feels solid and doesn’t move, then it’s likely that the wall is load bearing.
- If the home has a basement or crawlspace, check if it has another wall, support beam or posts that follow the same path as the wall above it. If there is, the wall is likely load-bearing.
Partition walls are not load bearing walls and can be removed without any consequences. However, if you’re not sure whether a wall is load bearing, it’s always best to consult with a professional before starting your renovation.
If you do need to remove a load bearing wall, there are a few solutions that you can use to create an open floor plan:
- You can install a beam across the opening of the wall. This will help to support the roof and floors of your home.
- Another option is to install columns on either side of the opening. This will also help to support the roof and floors.
- You can also use a steel plate (a solid piece of metal) to reinforce the opening in the wall if necessary during renovation work, which might be necessary depending on what kind of structure or building material you’re going into.
What’s the Cost of Finding a Load-Bearing Wall?
If you’d rather leave the entire job up to a professional, the cost of hiring a structural engineer for analysis could be from $300 through $1,000. If your home happens to have a high ceiling, the cost could go over $1,000 for removing the load-bearing wall.
Your contractor will likely have a structural engineer since they would have a better network of professionals. But if you’re renovating on your own, get referrals.
Analysis is one cost, removal is another.
When you’ve decided to remove the load-bearing wall, be prepared to shell out a large sum. Complex projects, for two-story houses especially, may cost $20,000 to $30,000. So before you take on a major reno project like this one, give it a good thought. Run through the advantages and the challenges.
Can a Load-Bearing Wall be Removed?

It is possible to remove some load bearing walls without any consequences, but it’s important to take caution and consult with a professional first. There are many ways to create an open floor plan without removing load bearing walls, so there’s no need to worry if that’s not an option for you.
Removing a load bearing wall during home renovations is not for the faint of heart. Even if you are somewhat handy, we suggest getting help from a pro (like a contractor or structural engineer) before you take on the project.
Follow these steps with professional guidance:
Determine what you want
Decide what you want instead of the wall – do you want more space? A walk-in closet? An extra bathroom? If your renovation budget is low, then maybe it’s worth keeping some or all the structure that holds up this part of the house.
Maybe an additional door on one side will give you enough access while still having something sturdy holding up the ceiling above. Keep in mind though that doors are not built for structural purposes and can lead to future problems with things like termites or water damage.
Check the wall before tearing it down
Check the walls for insulation, wiring, and plumbing. If any of these are running through your load bearing wall, you’ll need to find a way to work around them before you start demolition.
Plan for it
Make sure you have enough help on hand for the actual removal process. It’s much easier if at least one other person is there to help hold things up or pass tools back and forth.
Don’t take a sledgehammer to the wall yet
Remove trim and baseboards from the wall first. This will help avoid damage later and makes it easier to see what needs to be cut away.
Find the center of the wall
Use a stud finder to locate the center of the wall. You’ll want to start your cuts here so that they’re even on both sides.
Use the right tools
Use a reciprocating saw to cut out the drywall and lath from between studs on either side of your planned opening. You’ll want to go as deep into the wall as possible without cutting into any beams or plumbing lines that run through it. Try not to damage beams if you don’t have to.
Measure
Once the walls are clear, measure between each end of both cuts to figure out how big your new doorway will be. We recommend making it at least 30 inches tall and 60 inches wide for an easy walkthrough every day. These measurements can change depending on what you plan for this space. If you do replace all load bearing structures with new ones (which we highly recommend), then you’ll need to cut them down so that they’re shorter than the old load bearing wall was.
Remove beams
Use a sledgehammer or hammer drill to remove any beams you can’t reach through your new doorway; if there are no beams, then it’s OK to leave these intact. You just want as much space open in between studs as possible during this part of the process. It may also be helpful for one person on your team to stand outside and hold up pieces of drywall while another demolishes the inside walls.
If necessary, use bolts with nuts and washers (or similar connectors) along both sides of where the beam used to stand to support what will become your new structural posts. This will help keep the opening stable while you’re working on it.
Install new posts
Install your new posts; these will be what the rest of your structure hangs off of. If you’re replacing all load bearing members, then make sure they are cut to size and install them according to manufacturer’s instructions.
Hang drywall or other wall covering over the opening, making sure that it is securely attached to your new posts. You may also want to add trim around the edges at this point for a finished look.
Alternatives to Removing a Load-Bearing Wall
- Instead of completely removing the wall, try modifying it in some way. Maybe a door could be added on one side to give you the extra space you need.
- If your wall is load bearing but doesn’t have any insulation, wiring, or plumbing running through it, then you could try removing just the drywall and lath. This will help save time and money during your renovation.
- Use temporary supports such as beams or braces to hold up the section of the house that used to be supported by the load bearing wall until the renovation is complete. This can be a more expensive option, but it may be worth it if you’re short on time or manpower.
Home improvements that enlarge a room or create an open floor plan require planning. Beyond settling on and following a budget for your project, getting organized ensures the construction is smooth, relatively stress-free and most of all, safe.
The removal of a load-bearing wall calls for careful steps and the guidance of a professional. In some communities, permits aren’t the only requirements; some will not allow homeowners to do the work themselves, following up with an inspection. Although you may consider yourself handy with tools, the expertise and experience of an architect or structural engineer would ensure better results than a DIY approach.