Designers use pattern to bring visual interest to any interior space. But that’s not the only advantage this style brings. Used the right way for home renovations, a pattern can create depth and a focal point; bring energy through repetition, and deliver a cohesive design. And one of the preferred patterns of late is the chevron design.
The chevron pattern is one of the most popular patterns you see in homes these days. It has been used for flooring, tiles and backsplash on kitchens, sofas and chairs, fabric upholstery. But how exactly does it differ from herringbone? And what are some of its pros and cons?
This guide will answer all of your questions about chevron pattern, from design to installation to cost.
Why is it Called Chevron Pattern?

Chevron pattern is called “chevron” because of its shape: it looks like a zigzag line, and the word chevron has been derived from French, which means rafter or gable. Each side, which is sometimes cut at a 60- to 70-degree angle, of the V meets at the point — continuously. Its seemingly wave-like pattern creates a sense of movement in any space.
Archeological digs reveal ancient people used it as a symbol from the 6th to 5th millennia BC. During the Middle Ages, the chevron design became a heraldry symbol, signifying rank, pedigree and ownership. The symbolism eventually found its way into military significance, which is why you’ll see chevron pattern on uniforms.
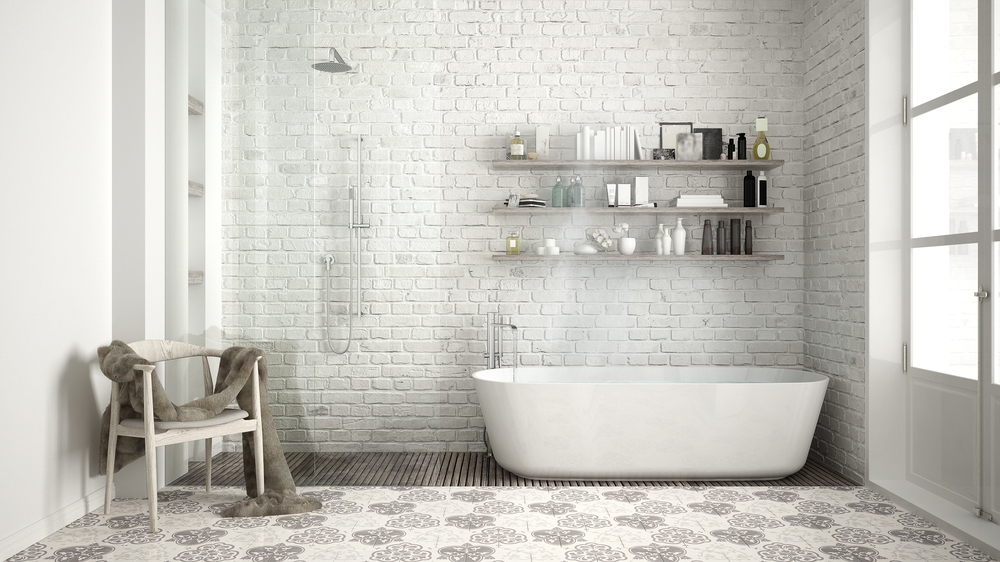
The chevrons can be seen in nature, too – for example, on a shell or a turtle back. This is why chevron pattern is often used for flooring in bathrooms and kitchens; it creates a natural look.
The Design of Chevron Pattern
The chevron pattern can be designed in two ways:
- the V-shaped chevron, and
- the parallelogram chevron.
The V-shaped chevron has more of a “V” shape, whereas the parallelogram chevron has more of a rectangle or diamond shape.
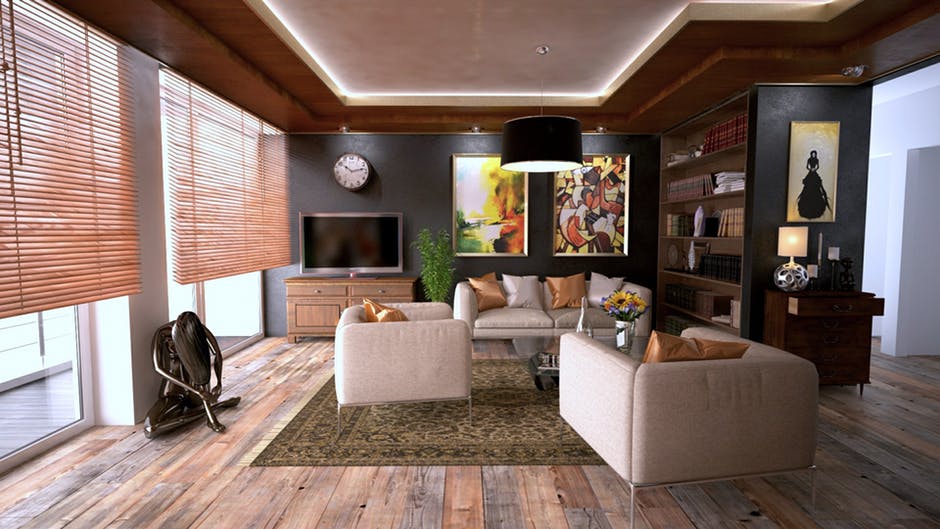
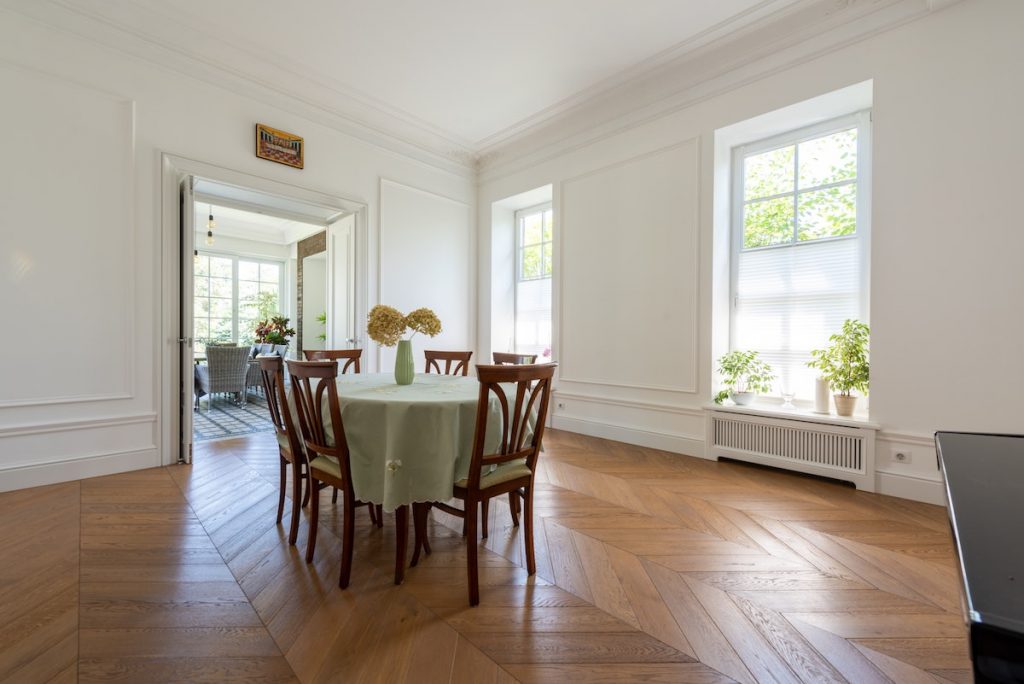
Both designs are equally popular, but the V-shape gives a more dramatic effect and hence is often used for flooring and tiles. Such visual interest is typically ideal for monochromatic kitchens or modern minimalist living spaces, like in Scandinavian-inspired interiors.
In some spaces, the geometric look of a chevron design may even function as a kind of mural given the right kind of colors on the tiles and the grout used.
Herringbone vs. Chevron: Which is Better?

Because both patterns use the zigzag look, confusion tends to happen when labeling them. Although similar, some differences can be pointed out.
Chevron is often used for flooring and tiles because of its chevron design whereas herringbone is preferred over chevrons when it comes to fabric upholstery or furniture. In terms of their look, chevron looks bolder and stands out, whereas herringbone keeps things low-profile with fine lines.
The main difference lies in how these patterns are installed: chevron tiles run point to point and herringbones are placed perpendicular to each other, breaking up the zigzag pattern.
So which is better: herringbone versus chevron?
If you’re on a budget, the herringbone may be a better choice since it’s installation may cost less than a chevron pattern. The chevron tile also costs more because its ends have to be cut at an angle to create a continuous zigzag.
What You Need to Know Before Installing Chevron Pattern

Chevron pattern is mostly used for living room flooring and kitchen tiles, but it can also be used to give your furniture or upholstery chevron-like effect.
Before you choose chevron design, there are several things that you need to know, like what kind of chevrons would work best in your space? Should the chevrons run parallel or at an angle? And should they be short lines (for smaller spaces) or long lines (for larger areas)?
Your choice will determine whether large design elements, such as sofas and chairs, go well with chevron wallpaper.
Also consider the cost factor carefully while choosing between herringbone vs. chevron. Cheaper options could include using vinyl flooring or peel-and-stick wallpaper, while the more expensive chevron tiles and marble can really make a statement.
Installation of Chevron Pattern

The installation process for chevron pattern is not difficult, but it does require precision and accuracy.
Start by measuring the width and height of the space where you want to install chevrons. This will help you decide on the size of your chevrons. If you’re using chevron tiles, then be sure to get exact measurements so that there’s no cutting required during installation.
If installing chevron flooring, then use a level to ensure that the lines are straight. This will create a cleaner look overall. You can also use painter’s tape as a guide to keep the lines straight.
Chevron pattern is usually installed as a plank flooring or tile flooring. The installation process is very similar to that of other plank or tile floorings.
The chevron pattern can also be used for backsplash on kitchens when you’re looking to update your counter. But you’ll need to use smaller tiles so that the chevrons are clearly visible.
But tiling your kitchen or bathroom with this neat design can seem intimidating at first. Not to worry. We’re here to help you out with these simple step-by-step instructions.
Tiling a Chevron Pattern in Your Home

Step One: Measure the chevron pattern
All you need to do is measure the area you want to tile and then purchase some chevron tiles at your local home improvement store. (If you can’t find chevron tiles, fret not. You can also use subway tiles in a herringbone pattern.)
Step Two: Cut your chevron tiles to size using a glass cutter
If you are doing half-wall chevrons, cut them so they will fit below each windowsill with two inches of space on either side for grout and expansion between walls and flooring.
Step Three: Apply chevron adhesive to the wall
Apply chevron adhesive to the wall where you will be placing your tiles. This will help them stick securely in place and prevent any slipping or sliding while the mortar dries.
Make sure to read the manufacturer’s instructions carefully so that you know how much adhesive to use and how long it will take for it to dry completely.
Step Four: Place your chevron tiles in the adhesive
Start from the bottom of the chevron pattern and work your way up, making sure that each tile is securely glued in place before moving on to the next one.
If you’re having trouble keeping everything straight as you go, try using a level or a ruler to help guide your hand.
It’s also helpful to have someone else there to help hold the tiles in place while you’re sticking them to the wall.
Step Five: Let the mortar dry completely
Once all of your tiles are in place, give them plenty of time to dry completely before proceeding with any further steps. Depending on the brand of adhesive you use, this could take anywhere from 12 to 24 hours.
Step Six: Grout the chevron tiles
Once the mortar has dried completely, it’s time to grout your chevron tiles! This will help fill in any gaps or spaces between tiles and give them a polished finish.
Make sure to read the manufacturer’s instructions carefully so that you know how much grout to use and how long it will take for it to dry completely.
The Cost of Chevron Pattern
![]()
The cost of chevron pattern depends on the type of material you choose and the installation process. Generally, it is more expensive than other types of flooring or tile installations. Why is this pattern more expensive than other patterns?
Chevron tile is more expensive than chevron upholstery or chevron wallpaper. It’s because the chevrons are usually very fine and intricate, which makes them difficult to create on an industrial scale without high manufacturing costs.
The installation process of chevrons also increases their cost, especially when it comes to flooring; you need longer tiles so that chevrons can be created easily.
You will notice a difference in price between short lines (for smaller spaces) and long lines (for larger areas). This is why chevron pattern is often used for flooring in bathrooms and kitchens to give it a natural look.
Tips for Choosing Chevron Pattern
- If you’re looking for a dramatic effect, go for chevron design in flooring and tiles.
- Keep things low profile with herringbone pattern when it comes to upholstery or furniture.
- Choose between short and long chevrons depending on the size of your space.
- Use a level during installation to ensure that the chevrons are straight.
- Be sure to get exact measurements before choosing chevron tiles – no cutting required
All in all, chevron pattern is a great choice for your home. It’s versatile and beautiful – it can be used in traditional homes as well as modern ones. But before you start planning an installation in the living room, kitchen or bathroom, make sure you’re following basic design principles. This way, you avoid introducing a new style to your home that may clash with the existing look.